


How and when to try foam rolling
If you haven’t heard of foam rolling, read this blog to find out why I love it so much, as painful as it can be!
Foam rolling is one of the best things you can do after an intense exercise session to loosen tight muscles and release trigger points in the body caused by continual muscle stress and load. This can happen after a series of repetitive exercise such as cycling or running, poor posture, or muscular strain.
Keen to shop our Foam Rollers? Check them out HERE.
Foam rolling assists with myofascial release. This sounds fancy, but in a nutshell, all it means is that using a foam roller to roll gently over your tissues, muscles and joints helps to “smooth them out” and release the tension that can build up there.
Foam rolling is also excellent for:
- Reducing inflammation in the muscles
- Easing muscular pain
- Increasing your flexibility and range of motion
- Reducing delayed onset muscle soreness after intense exercise
- Relieving back pain
- Easing fibromyalgia symptoms. (Fibromyalgia is a chronic musculoskeletal disorder that’s linked to pain and fatigue as well as sleep, memory and mood problems)
- Helping the body to relax and release tension after intense exercise
Top tip: When choosing a foam roller, consider the size and texture that’s right for you. Smooth foam rollers are ideal if you’re new to foam rolling and want to ease into it. Textured rollers have knobs and ridges in them which help to work deeper into the muscles and release trigger points and knots quicker.
A shorter foam roller is ideal for smaller areas on the body such as the calves and ankles, while a longer foam roller is best for larger areas such as the legs (upper and lower part) and the back. Our foam rollers are made with a ridged texture to help loosen tension in the muscles fast, so that you aren’t stiff or sore for your next workout!

ALSO SEE: How to prevent muscle stiffness after a workout
Before you start, consider these points:
- Start slowly and only roll for 30-60 seconds at a time on a particular area, slowly building up to 2 minutes
- Foam rolling can be painful, but it’s important to let the roller work the trigger points out. So, try to pause for up to 30 seconds on a knot or trigger point and hold the pressure there until you feel it release.
- To adjust the pressure on the trigger point or sensitive area, use more or less of your body weight when you roll to hold yourself up or let yourself down lower and harder on the muscle.
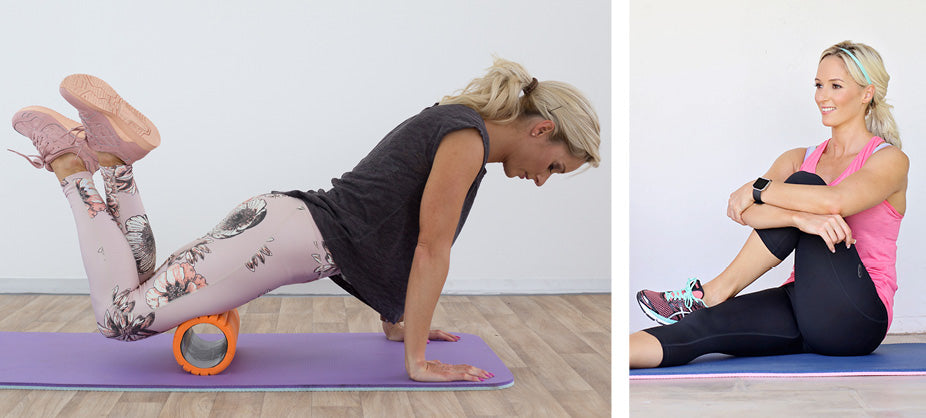
Here are a few great foam rolling exercises for your lower body:
For your glutes


- Sit on the foam roller with your back straight, legs out in front of you and hands behind you and flat on the ground.
- Cross your right ankle over your leg and get ready to roll.
- With your hands supporting you, gently roll your glute muscles over the foam roller, in a slow backwards and forwards motion.
- Roll for 30-60 seconds.
For your calves


- Sit on the foam roller, with back straight, legs out in front of you and calves resting on the foam roller.
- Slowly roll your calves backwards and forwards on the foam roller.
- Because you have to hold your body up, you might not be able to hold yourself up and roll for more than 20 seconds at a time.
TIP: You can roll both legs at the same time, or one at a time.
For your quads


- Holding yourself up with your hands, and keeping your back straight, while balancing your quads on the foam roller, slowly roll backwards and forwards on the foam roller to release the tension in your quads.
- Make sure to keep your back straight but avoid locking your shoulders and arms.
- Hold for 30-60 seconds.
TIP: You can roll both legs at the same time, or one at a time.
For your iliotibial band (ITB)


- Using your arms to hold yourself up, rest the side of your thigh on the foam roller just above your knee, while resting your other foot on the ground
- Slowly roll up and down over your iliotibial band (ITB) that runs along the side of your leg from your knee to your hip bone.
- Make sure to stop and pause over any trigger points.
- Hold for 30-60 seconds before switching to the other side.